
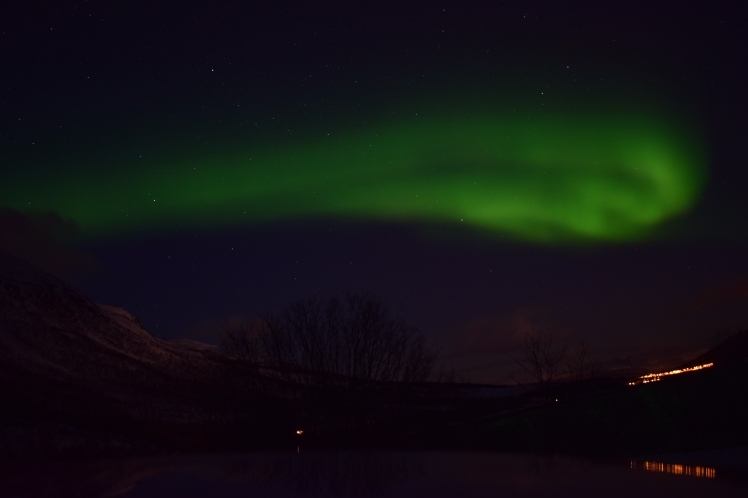
Aurora borealis is the scientific term used to describe the ‘Northern Lights’ phenomena that occurs close to the magnetic north pole in the arctic circle. Due to temperatures of million degree celsius at the surface of the sun, charged particles (electrons and protons) explode and travel in space, until they get attracted to the ‘weak’ magnetic fields of the north and south poles. Since the magnetic field is weak, these particles penetrate the surface of the earth and react with the atmosphere, producing this spectacular display.
The exact same phenomena happens at the south pole, called Aurora australis, however not as famous as the northern ones due to lack of inhabitants in that area. The only parts of the southern hemisphere where you may have a chance to see the Aurora australis are Tasmania island south of Australia or the southern most tip of New Zealand. Both areas require the ‘Kp strength’ to be at least 7; Kp is a scale of geomagnetic activity at a given latitude region, and ranges from 0-9. You do not have to articulate the science or algorithms behind these numbers. I will explain this later.

The purpose of this post is to share my experience and how I was able to see the lights without signing up for any of the expensive tours; tours start at €200/person and you are not guaranteed to see the lights. Frankly speaking, no one can guarantee you to see the lights. However, not sure about you, but I would definitely rather spend a fraction of €200 if it’s a hit or miss anyway.

I will be specific to the destination I chose, Tromsø in Norway. The city is well serviced, closest you can be to the north pole and has lots of other activities to be carried out. You do not want to revolve your trip around the northern lights, so you are not left disappointed if you don’t see them. I recommend allocating enough time at your destination to have a better chance to see them. In my case, I spent 5 nights in Tromsø, went on a ‘northern lights’ chase only two nights, since the rest of the nights were cloudy. I was able to see them both nights.

Kp Index
I will start by explaining the Kp scale, since it affects the travel destination. As mentioned in earlier lines, the Kp scale ranges from 0-9. As geomagnetic activity increases, the number is higher. As the number gets higher, you observe a stronger aurora display in the sky. Similarly, as the number gets higher, you are more likely to observe the aurora at more southern regions, away from the north pole. I was using a free app called ‘Northern Lights Forecast & Aurora Borealis Alerts’ to check the Kp index every hour. The models are estimated, so you are encouraged to try chasing the lights, even if the Kp is less than what your region shows on the map.

Sky Condition
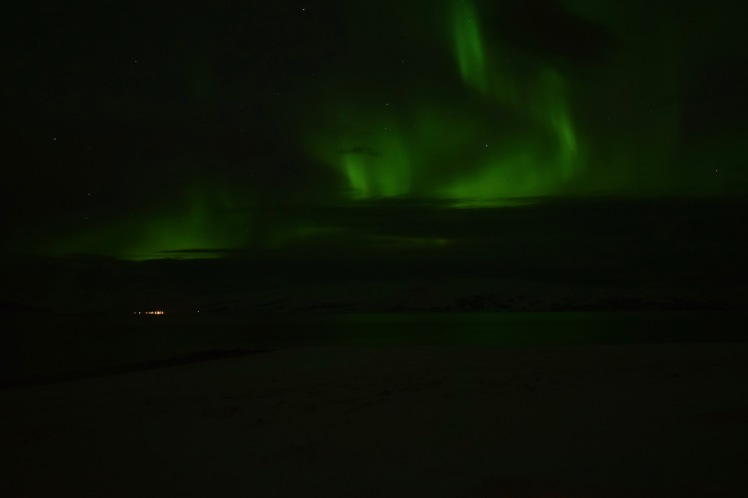
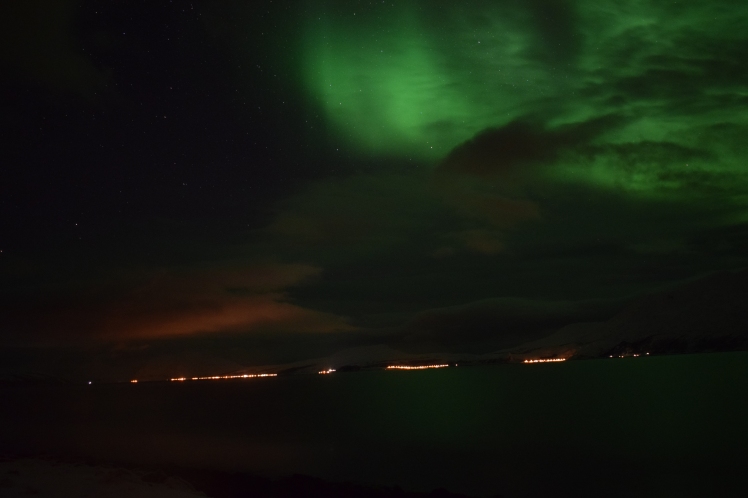
It’s not surprising that the sky needs to be dark and clear to have a good display of auroras. Let’s discuss each condition separately. For darkness, you need to plan your visit away from the summer months, due to the lack of night hours. October to April should be adequate. Leaving behind the city lights is equally important to have an unpolluted display. For clarity, you need to check the weather precipitation radar, in order to pick a spot that has little to none cloud precipitation. In Norway, the national weather service radar map can be found here. Below are a couple of screenshots so you can tell the difference and know what to look for. You can look at every hour separately or simply press ‘play’ to see the cloud movement.


Logistics
Once you find a spot that satisfies all of the above, you need a way to get there. Renting a car gives you the freedom to get to this perfect spot. Public transportation is not reliable at night in Tromsø, and you need to have a vehicle to warm up every so often; you are close to the north pole and not there during summer, enough said. I was able to rent a car via an app called ‘Nabobil’, which is a platform connecting renters with car owners and generally cheaper than car rental companies. Just an idea.


Photography
Capturing this incredible phenomena is not a piece of cake. At minimum Kp values, a DSLR camera is needed to have control over shutter speed and ISO. Certain smartphone apps allow you to have control over these items, so technically a smart phone can be used however not recommended. By trial and error, I was able to find a good setting for shutter speed and ISO, although I was constantly tweaking it. You will need to play around with it to find the sweet spot. Regardless, rule of thumb, you need a slow shutter speed (4-10 seconds) and ISO (600-2000). A high ISO setting will result in a grainy picture, although lit. You typically experience better quality by adjusting the shutter speed for more light (more seconds, more light). On separate notes, flash should not be used and a tripod is essential.


Summary
Covered a lot of items in this post, so here is a recap. You need:
- A location close to the arctic circle (See Kp index map above).
- Enough time at your destination (3-4 nights minimum).
- A clear night.
- Dark skies, away from light pollution (Note: Moon does not greatly affect visibility).
- Winter months (For longer nights).
- An adequate Kp value.
- A car.
- Warm clothes.
- A DSLR camera with a tripod.


Now, you have done everything you can. The last piece needed is some luck and you will witness one of the most incredible phenomenas nature has to offer. Good luck.

Loved the last shot with the guys on the swings – great post!
LikeLiked by 1 person
Thanks, it was a nice spot!
LikeLike